Dealing with an oven that refuses to heat up when you’re ready to cook can be frustrating. Whether you’re preparing a special meal or simply trying to get dinner on the table, a malfunctioning oven can throw your plans into disarray. In this guide, we’ll explore the common reasons why your oven might not be heating up and provide you with steps to diagnose and fix the issue.
Common Reasons for an Oven Not Heating Up
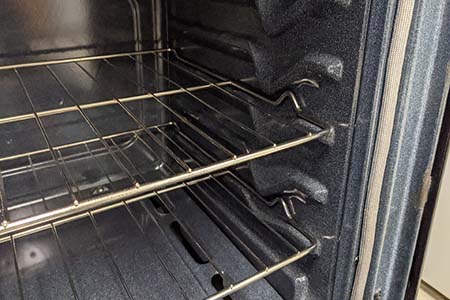
When your oven isn’t heating up, there could be several underlying issues. Let’s explore some of the most common reasons:
1. Electrical Issues:
- Circuit Breaker: Check your home’s electrical circuit breaker. A tripped breaker can disrupt power to your oven.
- Blown Fuse: A blown fuse in your oven’s circuitry can lead to a loss of heating capability.
- Loose Wiring: Loose or damaged wiring connections can hinder the flow of electricity to the oven’s heating elements.
2. Faulty Oven Igniter:
- The oven igniter is responsible for lighting the gas and initiating the heating process.
- If it fails to glow or malfunctions, it can prevent the oven from heating up properly.
- Replacing a faulty igniter is a common solution to this issue.
3. Temperature Sensor Problems:
- Modern ovens are equipped with temperature sensors that regulate the internal temperature.
- A malfunctioning or misaligned sensor can result in temperature inconsistencies or hinder the oven from reaching the desired heat.
- Testing the sensor’s resistance can help diagnose this issue accurately.
4. Problems with Bake or Broil Elements:
- Ovens have both bake and broil elements responsible for generating heat.
- Damage, burnout, or malfunctioning of these elements can lead to inadequate heating or a complete lack of heating.
- Inspect these components for visible signs of damage and consider performing continuity tests to determine if they require replacement.
Tools You’ll Need for Diagnosis and Repair
Before you begin diagnosing and fixing your oven, gather the necessary tools. Here’s a list of essential items:
- Screwdriver Set: You’ll need different types of screwdrivers to access various parts of the oven.
- Multimeter: This tool helps you measure electrical resistance, voltage, and continuity, crucial for diagnosing electrical problems.
- Wrench: A wrench is useful for removing and securing components like the oven igniter.
- Safety Gear: Safety should always come first. Wear protective gear such as gloves and safety glasses when working on your oven.
Now that you have your tools ready, let’s move on to diagnosing the issue.
Diagnosing the Issue
When your oven fails to heat up, pinpointing the underlying problem can save you time and money on repairs. Here’s a step-by-step guide to help you diagnose the issue:
Step 1: Check for Power Supply
Start by ensuring your oven is receiving power:
- Verify that it’s plugged in securely or that the circuit breaker or fuse controlling the oven’s electrical supply is functioning correctly.
- If you’ve had power outages recently, this may have tripped the breaker or blown a fuse.
Step 2: Test the Oven Light
Sometimes, a faulty light bulb in the oven can indicate electrical issues:
- Check if the oven light turns on when you open the oven door.
- If the light doesn’t work, it could be an indication of a power supply problem.
Step 3: Inspect the Igniter
If your oven uses gas, the oven igniter plays a crucial role in heating the oven:
- Check if the igniter is glowing when you turn on the oven.
- A dim or non-illuminating igniter may need replacement to restore proper heating.
Step 4: Listen for Clicking Sounds
When turning on your oven, listen for clicking sounds near the control panel or behind the oven:
- These clicks indicate that the oven’s control board is attempting to send power to the heating elements.
Step 5: Test the Heating Elements
For electric ovens, inspect both the bake and broil elements:
- If one or both appear damaged, scorched, or broken, they likely need replacement.
- Use a multimeter to test the continuity of the elements, ensuring they’re receiving power.
Step 6: Check the Temperature Sensor
Modern ovens are equipped with temperature sensors that regulate the oven’s internal temperature:
- Test the sensor’s resistance with a multimeter to verify if it’s within the specified range.
- A faulty sensor may result in temperature inconsistencies.
Step 7: Review Error Codes
Some ovens display error codes on their control panels when there’s a malfunction:
- Consult your oven’s manual to decipher any error codes displayed and follow the recommended troubleshooting steps.
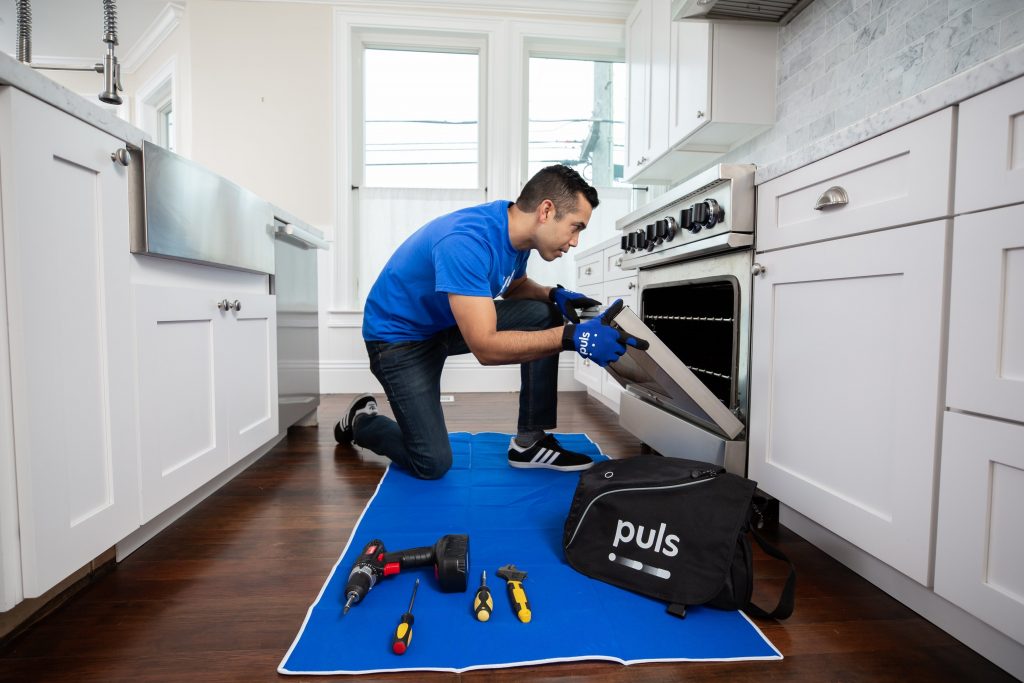
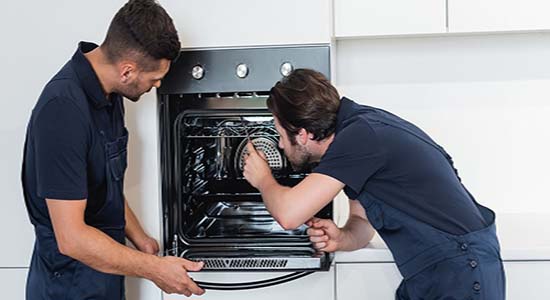
Step 8: Seek Professional Help
If you’re unable to diagnose the issue or if the problem is complex, it’s advisable to seek assistance from a qualified appliance technician:
- They have the expertise and tools to diagnose and repair more challenging problems.
By following these step-by-step instructions and carefully inspecting your oven, you can often identify the root cause of the heating issue. This knowledge will be valuable whether you choose to attempt DIY repairs or seek professional assistance.
Fixing the Problem
If your oven is not heating up, you can take the following actions based on your diagnostic findings:
1. Replacing a Faulty Oven Igniter:
- The oven igniter is a common culprit when ovens fail to heat up. It’s a small device responsible for igniting the gas in a gas oven or heating the heating element in an electric oven.
- Signs of a faulty igniter include a lack of glowing or a weak, inconsistent glow when the oven is turned on.
- To replace a faulty igniter, you will need a new one that matches your oven’s make and model. Follow these steps:
- Turn off the power supply to the oven.
- Access the igniter, which is typically located at the back of the oven.
- Disconnect the old igniter and remove any mounting screws.
- Install the new igniter by connecting wires and securing it in place.
- Turn the power supply back on and test the oven to ensure it heats up properly.
2. Replacing a Faulty Temperature Sensor:
- The temperature sensor, also known as a thermostat, monitors the oven’s temperature and communicates with the control board to regulate it.
- If the sensor is malfunctioning, it may not accurately detect the oven’s temperature, leading to heating issues.
- To replace a faulty temperature sensor:
- Turn off the power supply to the oven.
- Locate the sensor, which is often found at the rear of the oven interior.
- Remove any screws or clips holding it in place and gently pull it out.
- Disconnect the sensor’s wires from the terminals.
- Install the new sensor by connecting the wires and securing it in place.
- Turn the power supply back on and test the oven’s heating function.
3. Replacing Bake or Broil Elements:
- If your oven has separate bake and broil elements, a malfunction in either can cause heating problems.
- Signs of a damaged element include visible breaks, burn marks, or uneven heating.
- To replace a faulty bake or broil element:
- Turn off the power supply to the oven.
- Access the element by removing any covers or panels inside the oven.
- Detach the wires connected to the old element.
- Install the new element by connecting the wires and securing it in place.
- Turn the power supply back on and test the oven’s bake and broil functions.
4. Seeking Professional Help:
- If the issue persists after attempting the above solutions or if you are uncomfortable with performing these repairs, it’s advisable to contact a qualified appliance technician.
- A professional can diagnose and repair more complex problems, ensuring your oven operates safely and efficiently.
By following these steps, you can address common issues that cause ovens not to heat up and potentially save on repair costs. However, always prioritize safety, and if in doubt, consult a professional technician to avoid any hazards or further damage to your appliance.